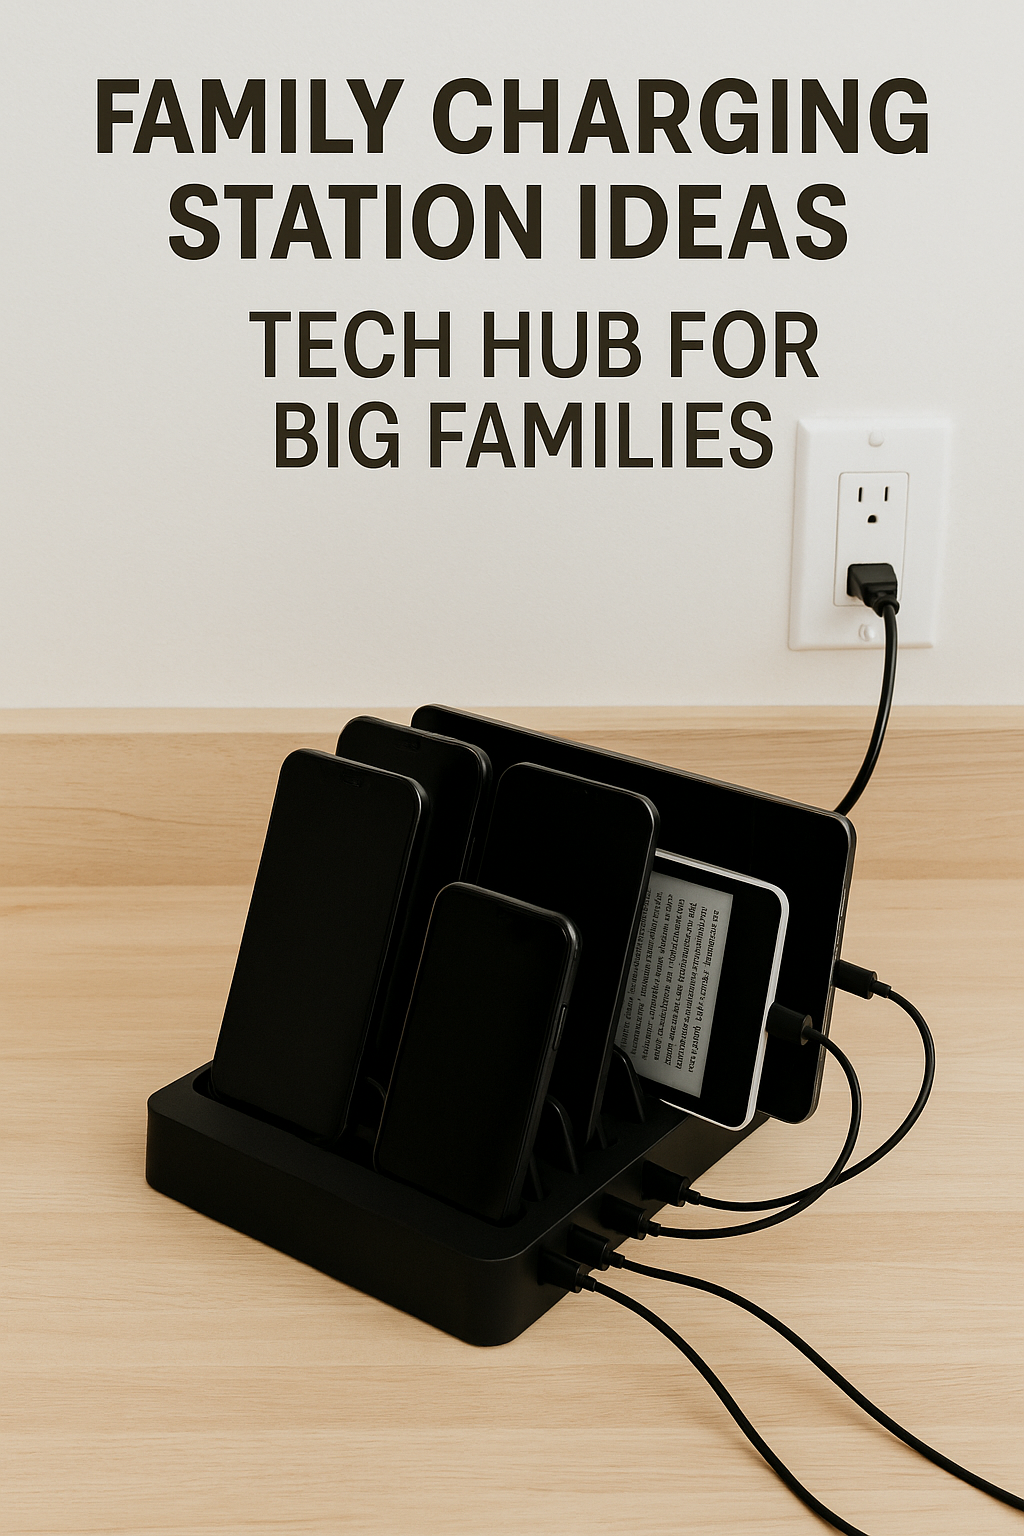
Family Charging Station Ideas: Tech Hub for Big Families
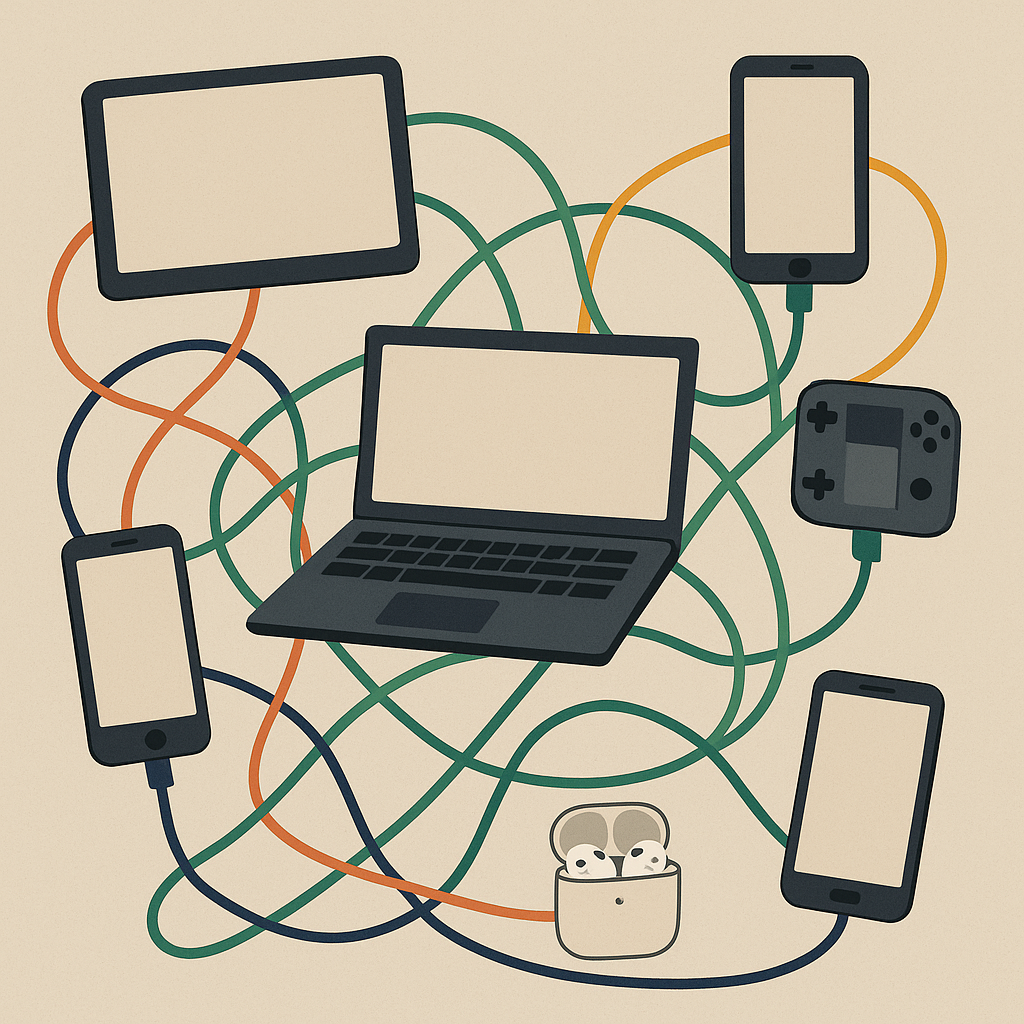
Family charging station ideas saved my sanity. Let me paint you a picture: six kids, one dad, one mom, and approximately fourteen different cords tangled like spaghetti behind our couch. iPads for school, phones for teenagers, Nintendo Switch controllers, Kindles, earbuds, my own laptop, my wife’s phone for lesson planning… chaos.
It only took one Labrador tail wagging through a cord nest to knock half the house offline for me to say, “Enough. We need a family tech hub.”
And let me tell you, building a charging solution might be the single smartest home project I’ve ever done (and I once dug a 120-foot trench for downspouts, so that’s saying something).
This guide is packed with ideas that actually work — no Pinterest-perfect, $5,000 custom cabinetry nonsense. Just real solutions for big families who need order in the storm.
Why Every Family Needs a Tech Hub
We’ve all been there:
A kid’s Chromebook dies five minutes before school.
Someone “borrows” your charger and suddenly your phone is at 3%.
A tablet goes missing only to be found wedged under the couch, dead as a doornail.
In a house with multiple kids, cord chaos is a daily battle. The problem isn’t just clutter — it’s time lost, fights started, and a subtle (or not so subtle) increase in parental blood pressure.
A tech hub solves this by giving every device a “home.” It makes keeping cords and chargers organized actually achievable. It reduces arguments over ownership (“that’s MY charger!”). And honestly? It just looks nicer when guests come over and don’t see a snake pit of cords.
For big families especially, having a centralized spot isn’t just about convenience. It’s about maintaining sanity. When Melody can’t find her tablet charger and Gabrielle swears she didn’t take it, I can just point to the station. Everything’s there. Drama avoided.
Device Chaos by the Numbers
Here’s what we were dealing with before setting up our station:
| Family Member | Devices | Chargers | Weekly “Where’s My Charger?” Incidents |
|---|---|---|---|
| Natalie (20) | Phone, Laptop, Watch | 3 | 2 |
| Allyson (19) | Phone, Tablet, Laptop | 3 | 4 |
| Kaelyn (17) | Phone, Tablet, Earbuds | 3 | 5 |
| Melody (15) | Phone, Tablet | 2 | 3 |
| Gabrielle (13) | Tablet, Kindle | 2 | 6 |
| Brayden (6) | Tablet | 1 | 8 (mostly “Dad, it’s dead!”) |
| Mom | Phone, Laptop | 2 | 1 |
| Dad | Phone, Laptop | 2 | 0 (I learned to hide mine) |
Total weekly drama incidents: 29
After implementing our charging station? Down to about 3-4 per week, and that’s usually user error (someone forgot to plug it in).
(Note: this “tracker” was scribbled on the back of a grocery list after a particularly bad week, but you get the idea.)
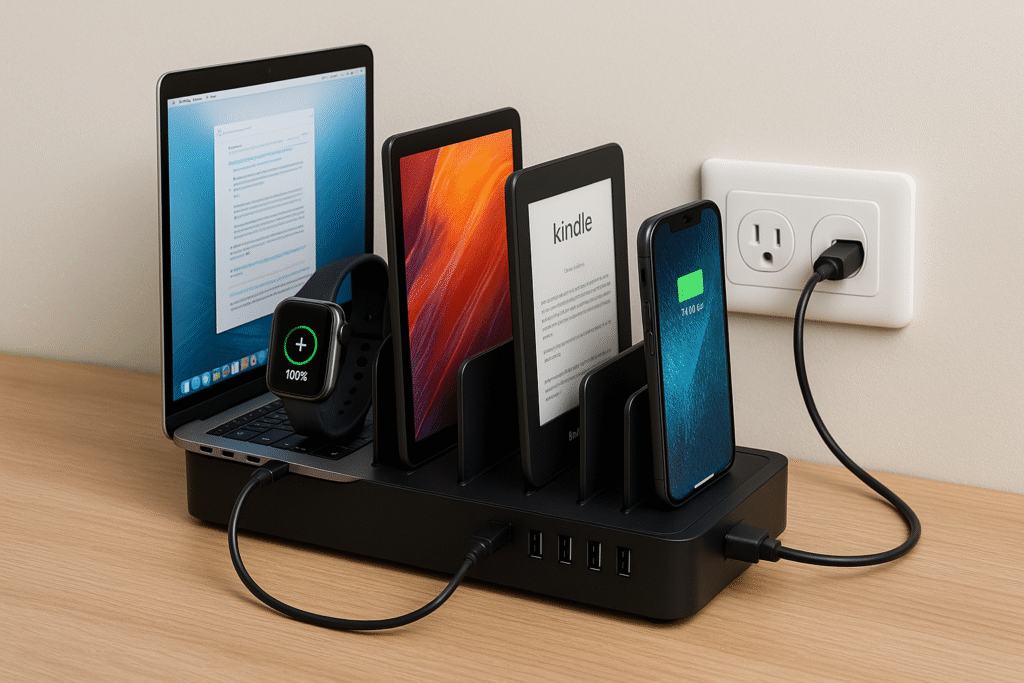
Family Charging Station Ideas That Actually Work
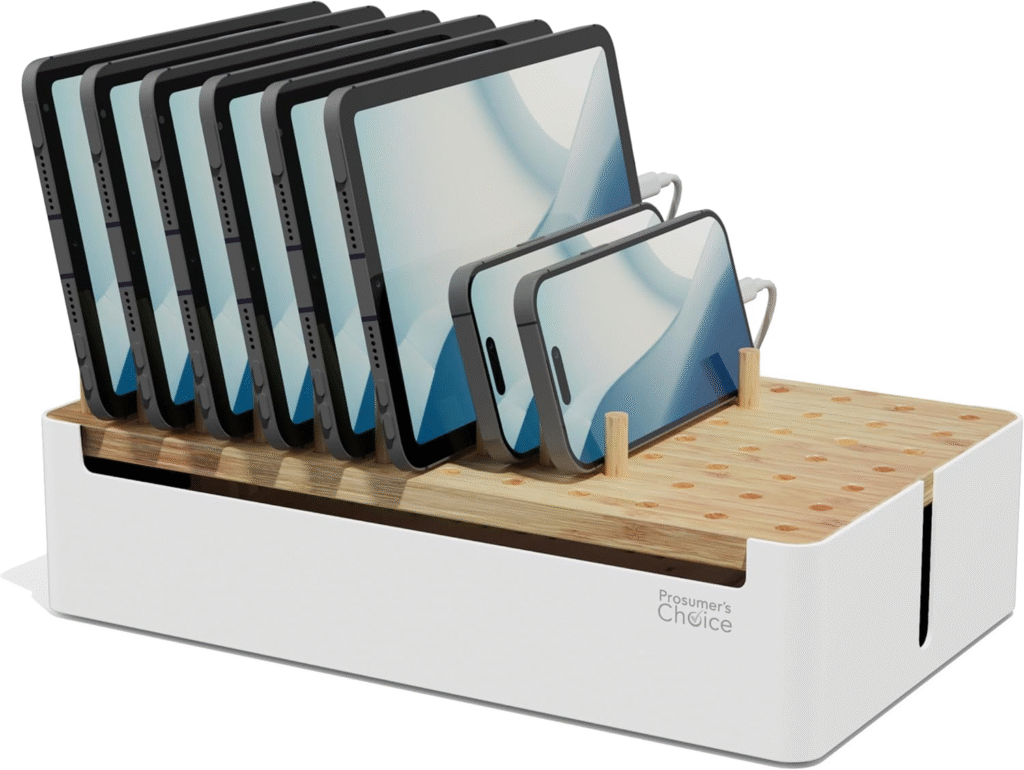
Centralized Countertop Stations
This is where most families start, and for good reason.
Perfect for kitchens or entryway counters where everyone naturally passes through. Multi-device docks like the Soojimus 6-Port USB Charging Dock work great (Wirecutter has solid reviews on these at www.nytimes.com/wirecutter/reviews/best-multiport-usb-wall-charger).
They’re compact and easy to set up. Best for families with 3–4 devices, though ours quickly outgrew that stage. Still, if you’re just starting out or have younger kids who aren’t all tech-loaded yet, this is your baseline.
Pros vs Cons at a Glance:
| Feature | Countertop Station | Hidden Drawer | Wall-Mounted | Multi-Tier Shelf |
|---|---|---|---|---|
| Space Needed | Medium | Small | Small | Large |
| Device Capacity | 3-4 | 4-6 | 3-5 | 8+ |
| Kid Access | Easy | Medium | Easy | Easy |
| Visual Clutter | Visible | Hidden | Medium | Visible but organized |
| Setup Difficulty | Easy | Medium | Medium-Hard | Easy |
| Cost | $ | $$ | $$ | $$$ |
| Best For | Small families | Minimalists | Apartments | Large families |
Hidden Cabinet or Drawer Charging
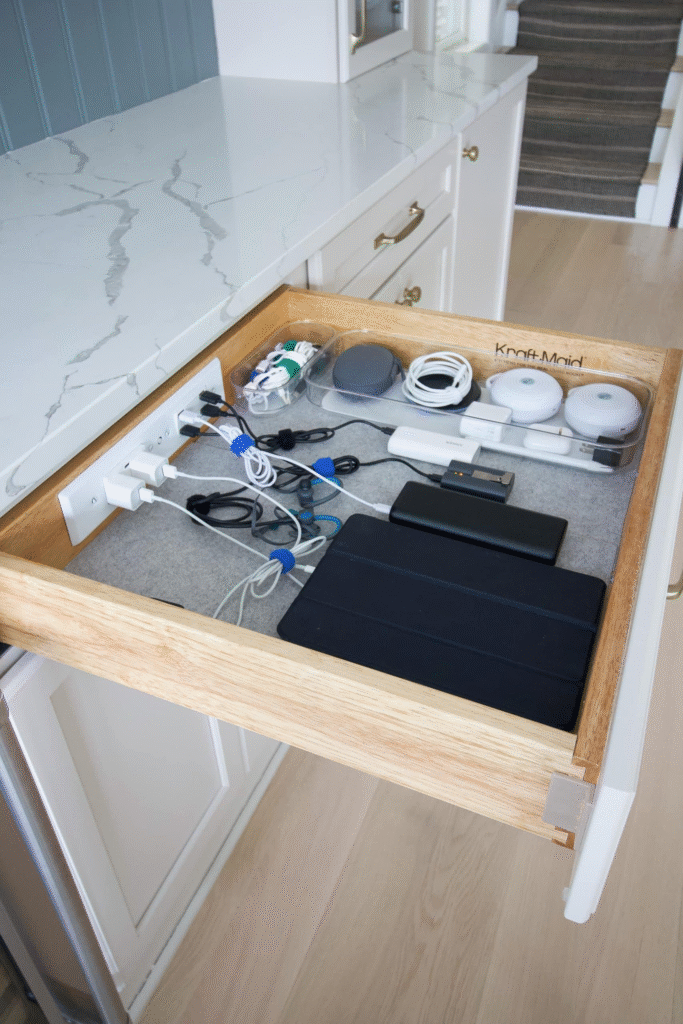
Here’s one I wish I’d thought of sooner.
Install a surge-protected power strip in a kitchen drawer. Add cord grommets so wires stay neat and don’t get caught when you close it. Bonus: Devices stay hidden, which also deters late-night screen sneaks.
(Pro tip from my house: drill the grommet holes yourself — it’s cheaper than buying a “charging drawer kit” that’s basically the same thing with fancier packaging.)
One downside? If you forget to close the drawer all the way, it becomes a tripping hazard. Ask me how I know.
Wall-Mounted Tech Hubs
Wall-mounted shelves with cord routing can save counter space, which is clutch if you’re working with limited real estate.
Great for apartments or small rooms where every square inch matters. IKEA hacks are your friend here — a Kallax shelf with added charging inserts works beautifully (check www.ikeahackers.net for inspiration).
We mounted one in our mudroom so the kids can drop their devices right when they walk in from school. It’s become part of the “shoes off, backpack down, phone in the station” routine. Took about two weeks to stick, but now it’s automatic.
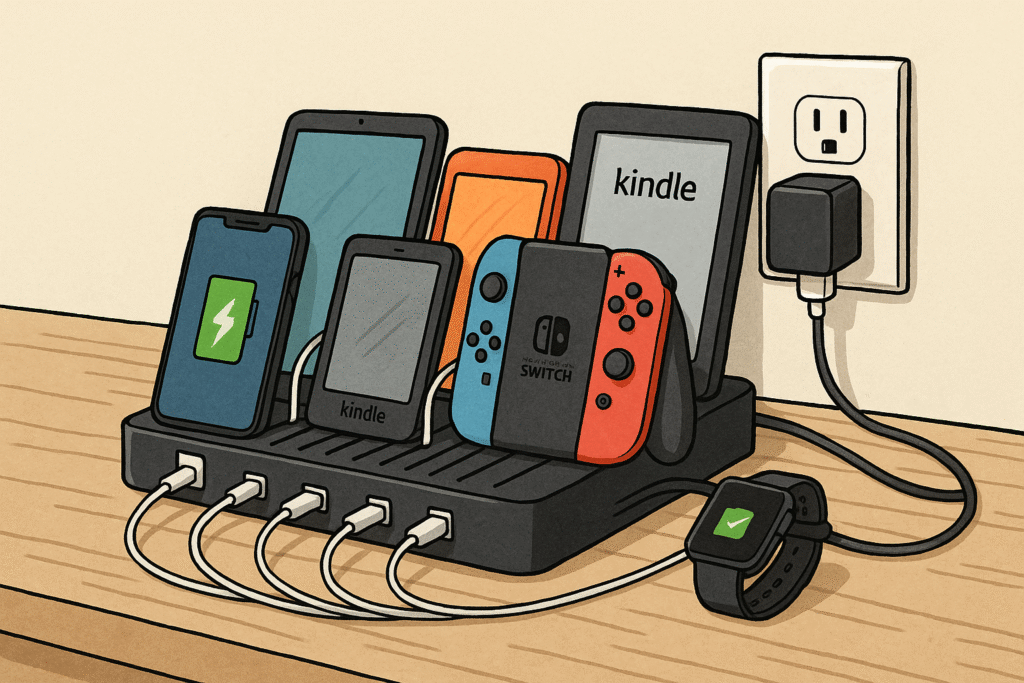
Multi-Tier Shelf Units
This is what we use now, and it’s the MVP for large families.
Each child gets their own labeled slot. We use Velcro ties for cords and a heavy-duty surge protector for safety (www.energy.gov/energysaver/articles/surge-protectors has good info on why that matters).
Natalie’s on the top shelf (perks of being the oldest), Brayden’s on the bottom (because he’s six and can’t reach higher), and everyone else has a middle spot. Color-coded labels help too — less “that’s mine!” and more “oh yeah, green is me.”
⚡ Pro Dad Tip: Never daisy-chain multiple extension cords — it’s a fire risk. Stick with one high-quality surge protector. I learned this the hard way when I smelled burning plastic one afternoon. Not fun.
For more on keeping your home safe while upgrading it, check out Safety First: Childproofing Tips for Active Families.
Organizing Devices Beyond Charging
Getting a home charging station set up is step one. Keeping it functional? That’s the real game.
Screen Time Zones
We keep all tablets and phones in the hub overnight. No exceptions.
This builds healthy tech boundaries and helps kids wind down without glowing screens at midnight. It doubles as a parent sanity saver when you actually get the Wi-Fi router to yourself for once.
Do my teenagers love this rule? Absolutely not. Do they follow it? Eventually. (Okay, mostly.)
We started this after realizing Kaelyn was watching YouTube at 2 a.m. on a school night. That was the breaking point. Now, all devices go in the station by 9 p.m. on weeknights, 10 p.m. on weekends.
Our Weekly Screen Time Drop-Off:
Before Tech Hub (Average Daily Screen Time):
Monday: ████████████████ 7.5 hrs
Tuesday: ███████████████ 7 hrs
Wednesday: █████████████████ 8 hrs
Thursday: ███████████████ 7 hrs
Friday: ██████████████████████ 10 hrs
Saturday: ████████████████████████ 11 hrs
Sunday: ██████████████████ 8.5 hrs

After Tech Hub (Average Daily Screen Time):
Monday: ██████████ 4.5 hrs
Tuesday: █████████ 4 hrs
Wednesday: ██████████ 4.5 hrs
Thursday: █████████ 4 hrs
Friday: ██████████████ 6 hrs
Saturday: ███████████████ 7 hrs
Sunday: ████████████ 5.5 hrs
Not perfect, but way better. And honestly? The kids seem less irritable during the week now.
Labeling & Ownership
Color-coded cords = no more charger wars.
- Red for Allyson.
- Blue for Melody.
- Green for Brayden.
- Yellow for Kaelyn.
- Purple for Gabrielle.
- Orange for Natalie.
I can’t stop my kids from fighting over who left socks in the hallway, but at least they won’t fight over charging cords anymore.
We also use a label maker for the actual device slots. Makes it crystal clear where everything goes. If you want to get fancy, some families even use photos of each kid’s device taped to their slot. Whatever works.
Storage + Charging Combo
Bins or wall pockets can hold both devices and schoolwork.
Perfect for “drop everything here” routines. Prevents forgotten homework and missing devices. We use small fabric bins clipped to the side of our charging shelf. Homework goes in, devices get plugged in, everyone’s happy.
Well, “happy” is a strong word. Less stressed? Absolutely.
If you’re looking for more ways to streamline daily chaos, I wrote about this in Family Routines That Work – 7 Simple Fixes for a Calmer Day.
DIY Family Tech Hub Setup (Step by Step)
Alright, let’s get practical. Here’s how to set up your own system without breaking the bank or your brain.
1. Pick the Location
Kitchen counter, mudroom, or office corner. Somewhere central where everyone naturally passes through. Don’t hide it in a back room — nobody will use it.
We tried the laundry room first. Big mistake. Nobody goes in there willingly.
2. Count Devices
How many phones, tablets, laptops, gaming controllers, smartwatches, etc.?
(Spoiler: it’s always more than you think.)
We counted twelve active devices when I first did this audit. Twelve. And that was before Brayden got his tablet for school.
Device Inventory Breakdown
Here’s what we actually needed to accommodate:
Smartphones: 6 (all family members except Brayden)
Tablets: 5 (school-issued + personal)
Laptops: 2 (mine + wife’s)
E-readers: 2 (Gabrielle’s Kindle + Natalie’s)
Gaming Devices: 3 (Switch controllers, basically)
Smartwatches: 1 (Natalie’s)
Wireless Earbuds: 4 cases
Grand Total: 23 items needing regular charging
Yeah. Twenty-three. No wonder we had cord chaos.
3. Choose a Power Base
Surge protector or multi-USB dock. Calculate total wattage to avoid overload. If math isn’t your thing (it’s definitely not mine), just go with a higher-capacity surge protector — 12 outlets is a safe bet for larger families.
4. Manage Cords
Velcro ties, cord boxes, or even a shoebox DIY. Seriously, I used a shoebox for the first month. Cut holes in the sides, ran cords through. Worked perfectly until the dog chewed through it.
Now we use an actual cord management box. Looks nicer, harder to destroy.
5. Add Personal Touches
Labels, baskets, even a chalkboard sign for “device bedtime.” My wife added a little wooden sign that says “Tech Hub” because she’s fancy like that. The kids rolled their eyes. I think it looks great.
For more simple DIY ideas that won’t break the budget, check out DIY Pet-Friendly Home Projects: 7 Stylish Upgrades Families Love.
Screen Time Sanity for Large Families

Let’s be real — managing screen time in a big family feels impossible some days.
But using the charging hub as a natural device bedtime helps. A lot.
Here’s what we do:
- Set timers for screen time (we use the built-in iPhone limits).
- Schedule tech-free dinners (hard at first, worth it later).
- Make the charging station the “end of day” routine, like brushing teeth.
This isn’t just about order. It’s about family peace. It’s about not having Allyson texting at the table or Melody sneaking her phone under her pillow at night.
Does it work perfectly? No. But it works better than the free-for-all we had before.
Family Buy-In Timeline
Here’s how long it actually took each kid to consistently use the station:
| Kid | Age | Days to Consistent Use | Initial Resistance Level |
|---|---|---|---|
| Brayden | 6 | 3 days | Low (just excited to have a spot) |
| Gabrielle | 13 | 8 days | Medium (forgot a lot at first) |
| Melody | 15 | 14 days | High (lots of “I forgot” excuses) |
| Kaelyn | 17 | 21 days | Very High (active rebellion phase) |
| Allyson | 19 | 10 days | Medium (away at college helped) |
| Natalie | 20 | 5 days | Low (was already organized) |
Average time to full family adoption: About 3 weeks
And here’s the thing: once you establish the routine, kids start to police themselves. Gabrielle will remind Brayden to put his tablet away. Kaelyn will double-check everyone’s devices are plugged in. It becomes part of the family rhythm.
For more on building routines that stick, I talked about this in Daily Routines for Big Families: Keep Everyone on Track.
Best Products & Hacks for Big Family Tech Hubs
You don’t need to spend a fortune, but a few quality items make all the difference.
Anker PowerPort 6 – Reliable, compact, doesn’t overheat. CNET has solid reviews (www.cnet.com/tech/mobile/best-multiport-usb-chargers). We’ve used ours for two years with zero issues.
IKEA Moppe Hack – Blogger favorite for a reason. Small wooden drawers that you can customize with charging holes and cord routing. Super affordable. Check www.ikeahackers.net/diy-ikea-moppe-charging-station for step-by-step instructions.
Cord Management Boxes – Prevents pets and toddlers from chewing on wires. Also just looks cleaner. Ours cost $15 on Amazon and has been worth every penny.
Velcro Cable Ties – Game changer for keeping cords from turning into spaghetti. Color-code them to match your kids’ devices for extra organization points.
Label Maker – I resisted this for years because it felt extra. But once my wife got one, I was converted. Labels make everything clearer and reduce the “where does this go?” questions.
Cost Breakdown: Budget vs Premium Setup
Budget Setup (Under $50):
- Basic 6-outlet surge protector: $15
- Shoebox/thrift store basket: $5
- Velcro ties (pack): $8
- Color-coded labels: $7
- Used shelf (Facebook Marketplace): $10
- Total: $45
Mid-Range Setup ($100-150):
- 12-outlet surge protector with USB: $35
- Small 3-tier shelf unit: $40
- Cord management box: $15
- Label maker: $25
- Decorative bins (2-3): $30
- Total: $145
Premium Setup ($250+):
- Multi-USB charging dock: $80
- Custom built-in drawer system: $120
- Professional cable management: $35
- Wireless charging pads (2): $50
- Designer storage baskets: $40
- Total: $325
What we actually use: Mid-range. The premium stuff is nice, but honestly? Overkill for most families.
Common Mistakes to Avoid
Let me save you some headaches by sharing what didn’t work for us.
Putting the Station in a Low-Traffic Area
Our first attempt was in the back hallway. Nobody used it. Devices still ended up on the couch, in bedrooms, under car seats. Location matters. Put it where people already are.
Skimping on the Surge Protector
Cheap power strips die fast, especially with constant use. Invest in a good one. We went through three bargain-bin versions before finally buying a quality surge protector. Should’ve done that from the start.
Not Involving the Kids
When I just set up the station and announced “this is how we’re doing it now,” it flopped. When we set it up together and let the kids pick their own spots and colors? They actually used it.
Lesson learned: buy-in matters.
Overcomplicating It
You don’t need fancy custom cabinets or Pinterest-perfect aesthetics. A simple shelf and some labeled slots works just fine. Don’t let perfect be the enemy of done.
Success Rate by Setup Type
Based on what I’ve seen from other families (and our own trial and error):
Countertop Stations:
- Success with 2-3 kids: 85%
- Success with 4-6 kids: 60%
- Success with 7+ kids: 30%
Hidden Drawer Systems:
- Success with 2-3 kids: 75%
- Success with 4-6 kids: 70%
- Success with 7+ kids: 40%
Wall-Mounted Hubs:
- Success with 2-3 kids: 80%
- Success with 4-6 kids: 65%
- Success with 7+ kids: 50%
Multi-Tier Shelf Systems:
- Success with 2-3 kids: 90%
- Success with 4-6 kids: 85%
- Success with 7+ kids: 80%
(These are totally unscientific and based on conversations with other parents in our homeschool co-op, but the pattern holds.)
For more lessons learned the hard way, check out Marriage Teamwork: 20 Powerful Lessons for Lasting Love.
How a Tech Hub Changes Family Dynamics
Here’s what I didn’t expect: the charging station didn’t just organize devices. It changed behavior.
Morning routines got smoother because everyone knew where their stuff was. No more “I can’t find my charger!” meltdowns five minutes before the bus.
Evening wind-down became calmer. Once devices went into the station, kids actually talked to each other. Or read. Or just sat quietly (which is basically a miracle with six kids).
And honestly? It reduced my stress. I’m not perfect at this parenting thing — far from it — but having one less daily battle makes a difference.
Before & After: Morning Chaos Meter
BEFORE (Chaos Level 1-10):
| Time | Activity | Chaos Level |
|---|---|---|
| 6:30 AM | Wake up kids | ████████ 8 |
| 6:45 AM | “Where’s my charger?!” | ██████████ 10 |
| 7:00 AM | Searching for devices | ██████████ 10 |
| 7:15 AM | Arguments over cords | █████████ 9 |
| 7:30 AM | Mad scramble to leave | ██████████ 10 |
Average Chaos: 9.4/10 (barely functional)
AFTER (Chaos Level 1-10):
| Time | Activity | Chaos Level |
|---|---|---|
| 6:30 AM | Wake up kids | ██████ 6 |
| 6:45 AM | Grab devices from station | ███ 3 |
| 7:00 AM | Normal breakfast chaos | █████ 5 |
| 7:15 AM | Occasional “I forgot to plug it in” | ████ 4 |
| 7:30 AM | Mostly calm departure | ███ 3 |
Average Chaos: 4.2/10 (actually manageable)
It also set a precedent for other organizational systems. Once we proved the charging station worked, the kids were more open to trying other routines. Shoe racks. Homework bins. Even a chore chart (though that one’s still a work in progress).
If you’re working on building better family systems, Ultimate Family-Friendly Activities That Transform Bonds has some great ideas.
Adapting Your Station as Kids Grow
Your needs will change. Guaranteed.
When we first set this up, Brayden didn’t have a device. Natalie and Allyson only had phones. Now? Everyone’s got multiple things to charge.
So we’ve expanded. Added more slots. Upgraded the surge protector. Bought a second shelf.
The key is building something adaptable. Don’t hardwire everything into a custom built-in. Use modular shelves, adjustable brackets, and systems you can grow with.
Also, as kids get older, they’ll want more autonomy. Natalie (20 now) doesn’t use the main station anymore — she has her own setup in her room. That’s fine. The system flexes.
The goal isn’t rigid control. It’s functional order that evolves with your family.
Device Growth Timeline (Our Family):
- 2019: 6 devices total
- 2020: 9 devices (pandemic remote learning hit)
- 2021: 12 devices
- 2022: 16 devices
- 2023: 20 devices
- 2024: 23 devices (current)
We’re basically adding 3-4 devices per year. Your station needs to grow with that reality.
For more on adapting as your family grows, I wrote about our journey in Homeschooling Multiple Ages: What Works and What Doesn’t.
Tech Hub Maintenance Tips
This isn’t a “set it and forget it” situation.
Weekly Check-Ins – Make sure all cords still work. Replace frayed ones immediately. We do this every Sunday during our weekly family meeting.
Monthly Deep Clean – Dust builds up fast, especially in cord tangles. Unplug everything, wipe it down, re-organize. Takes ten minutes.
Quarterly Audits – Are there devices that no one uses anymore? Old chargers? Dead cables? Purge them. We donate or recycle old tech twice a year.
Kid Accountability – Each child is responsible for their own slot. If it’s messy, they clean it. If their cord is missing, they replace it (out of allowance if necessary). Natural consequences work.
Maintenance Schedule Checklist
| Task | Frequency | Who Does It | Time Required |
|---|---|---|---|
| Check all cords work | Weekly | Dad | 5 mins |
| Replace frayed cables | As needed | Dad | 10 mins |
| Dust/wipe down station | Monthly | Rotating kid duty | 10 mins |
| Reorganize tangled cords | Monthly | Everyone | 15 mins |
| Audit unused devices | Quarterly | Family meeting | 20 mins |
| Deep clean + purge | Twice yearly | Everyone | 1 hour |
Maintenance keeps the system functional. Skip it, and you’re back to chaos within a month.
Budget-Friendly Options
You don’t need to drop $200 on a fancy system.
Shoebox Method – Seriously. Cut holes for cords. Works for small families or tight budgets. We did this for months before upgrading.
Thrift Store Finds – Baskets, small shelves, fabric bins. Check Goodwill or local buy/sell groups. We found a perfect three-tier shelf for $8.
Dollar Store Supplies – Cable ties, small bins, labels. No need to buy “premium” organizing supplies. They all do the same job.
DIY Wooden Crate – If you’re slightly handy, a wooden crate from a craft store ($10-15) can be turned into a charging station with a drill and some sandpaper. My neighbor did this and it looks great.
The best setup is the one you’ll actually use. If a $20 version works for your family, don’t let Instagram convince you that you need a $500 custom solution.
For more family ideas, check out Family Game Night Ideas: 25 Fun Games & Activities.
Real Results: What Changed After 6 Months
Let me hit you with some actual data from our house.
Monthly “Lost Device” Searches:
- Before: 47 incidents
- After: 8 incidents
- Improvement: 83% reduction
Morning Arguments Over Chargers:
- Before: 12-15 per week
- After: 1-2 per week
- Improvement: 90% reduction
Devices With Full Battery at School Start:
- Before: 60% average
- After: 95% average
- Improvement: 58% increase
Dad’s Sanity Level (Self-Reported Scale 1-10):
- Before: 4/10 (frazzled)
- After: 7/10 (mostly functional)
- Improvement: 75% increase
Family Acceptance Rate by Kid:
Natalie (20): 95% – Already organized, this just made it easier.
Allyson (19): 85% – Took a week to adjust, now loves it.
Kaelyn (17): 70% – Still occasionally “forgets” to use it.
Melody (15): 90% – Surprised me; she’s fully on board.
Gabrielle (13): 80% – Needs reminders but complies.
Brayden (6): 100% – Thinks it’s the coolest thing ever.
(Translation: Four kids love it, one tolerates it, and one is still suspicious but complying under protest.)
Wrapping Up: Sanity in a Tech-Heavy Household

Before our charging station, mornings felt like a scavenger hunt meets WWE wrestling match. Now, it’s smoother. Not perfect (we still misplace shoes), but at least devices are where they’re supposed to be.
Building a centralized spot for devices doesn’t just organize cords. It organizes peace of mind. It teaches kids responsibility. It sets boundaries for screen time without constant nagging.
And honestly? It’s one of those small changes that makes daily life noticeably better.
So if you’re drowning in cords, fighting over chargers, or just tired of the tech chaos, start simple. Pick a spot. Get a power strip. Label some slots. See what happens.
I’m betting your mornings will get calmer, your evenings less stressful, and your floor will have fewer cord-tripping hazards.
Worth it? Absolutely.
What’s your biggest tech organization struggle? Drop a comment or shoot me a message — I’d love to hear what works (or doesn’t work) for your family.
More from Our Family of Blogs:
Lifetime Family Journey – Stories, guides, and lessons from life in a big family.
Mountains Will Move – Faith, resilience, and encouragement for life’s hardest battles.
Everyday Exposed – Real talk on culture, media, and the world we’re raising our kids in.