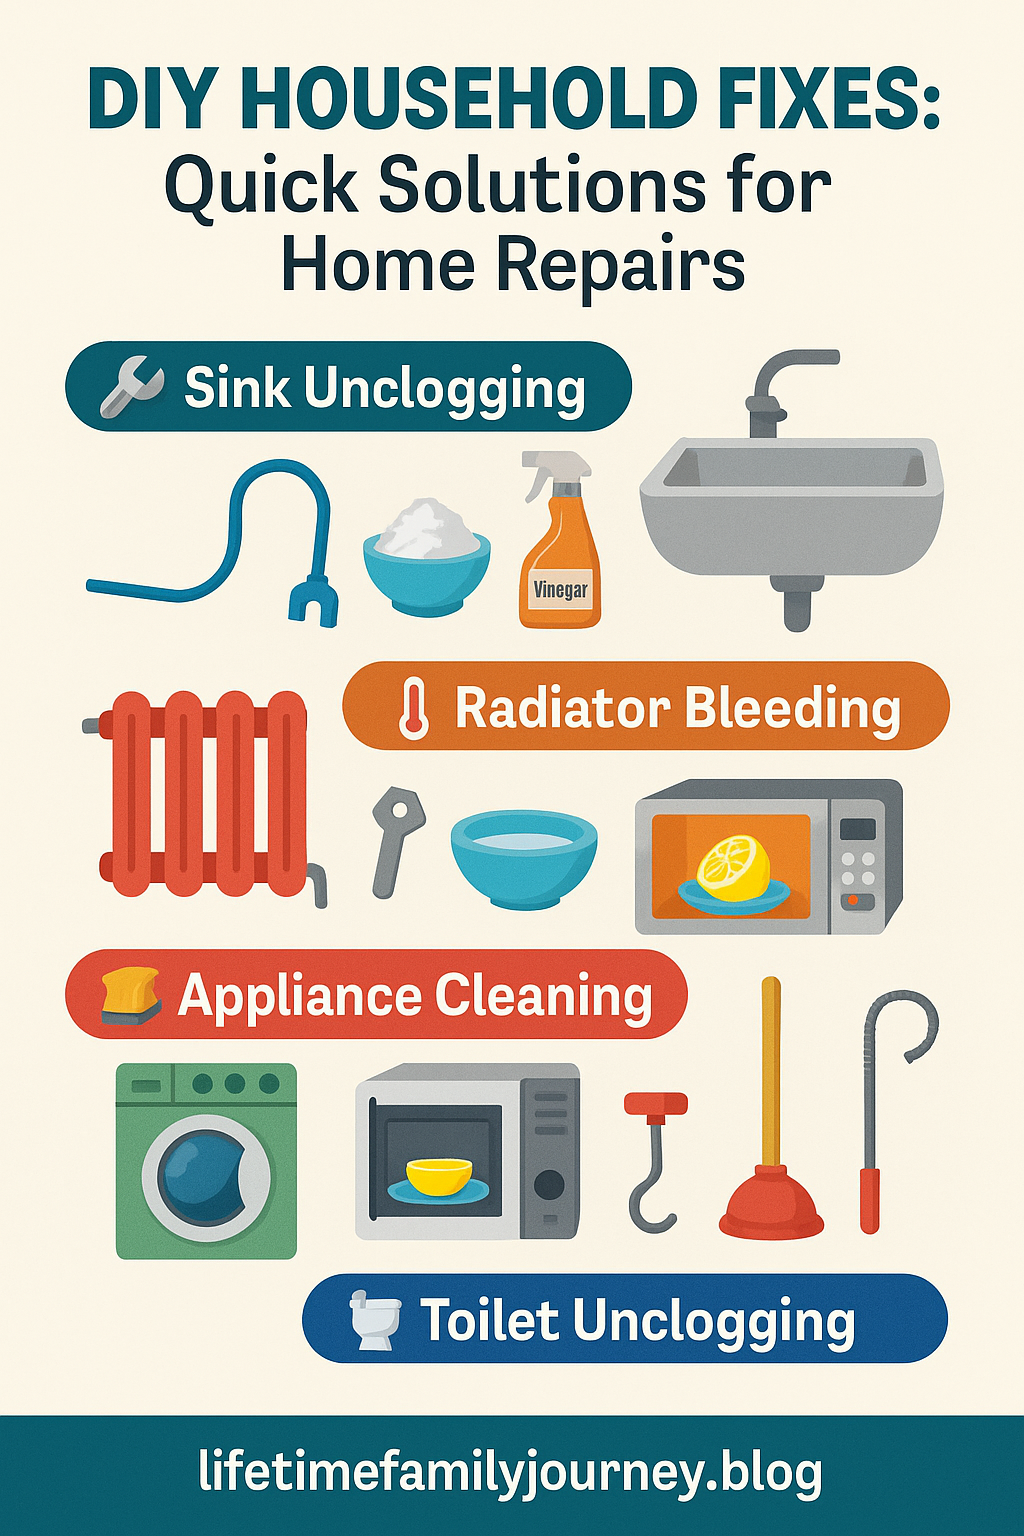
DIY Household Fixes: Quick Solutions for Home Repairs
Last Tuesday, my 8-year-old decided to conduct a “science experiment” by flushing an entire roll of toilet paper down our upstairs bathroom toilet. The same day, my wife discovered the kitchen sink wouldn’t drain after someone (looking at you, teenagers) dumped pasta water without straining the noodles first. And to top it all off, our oldest daughter texted from her dorm that her microwave smelled like something died in it.
Welcome to the glamorous world of homeownership and parenting six kids. But here’s what I’ve learned after 20+ years of marriage, multiple deployments, and more household disasters than I can count: most home emergencies aren’t actually emergencies. They’re just Tuesday.
I’m going to walk you through the most common DIY household fixes every parent needs to master. These aren’t complicated repairs requiring a contractor’s license—they’re simple solutions that save you money, teach your kids valuable skills, and prevent those 3 AM panic attacks when something breaks.
🚽 How to Unblock a Toilet: The Dad’s Guide to Victory
Nothing strikes fear into a parent’s heart quite like discovering an overflowing toilet when you’ve got company coming over in 20 minutes. But before you call the plumber (and watch your weekend budget disappear), let me share the battle-tested DIY household fixes that have saved my sanity countless times.
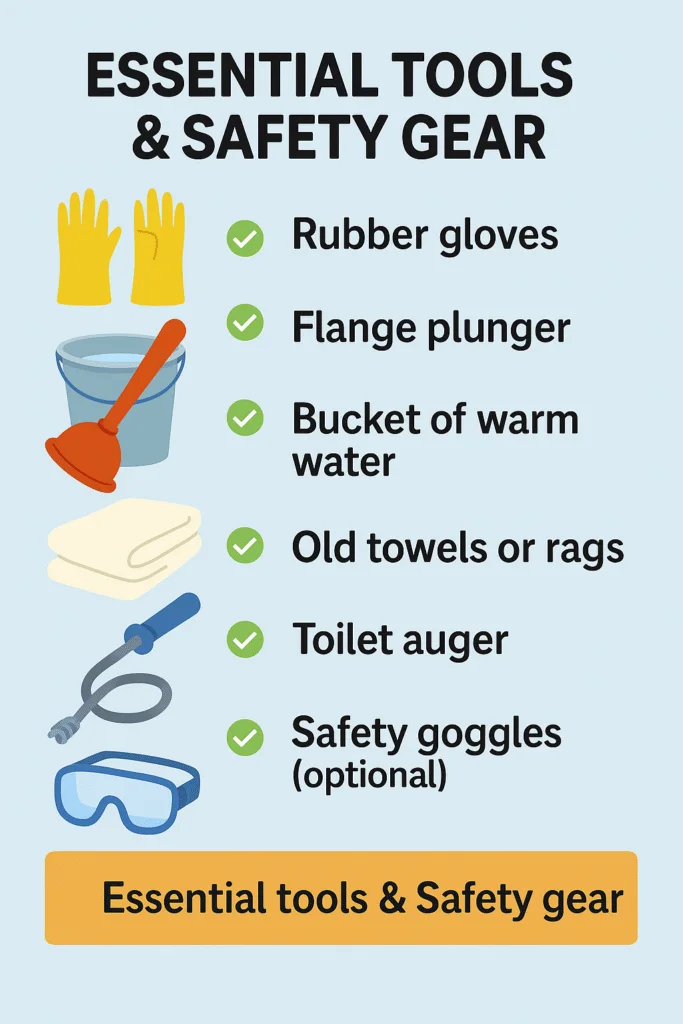
Essential Tools & Safety Gear
✅ Rubber gloves (trust me on this one)
✅ Flange plunger (not the sink plunger!)
✅ Bucket of warm water
✅ Old towels or rags
✅ Toilet auger for stubborn clogs
✅ Safety goggles (optional but recommended for splash protection)
The difference between success and a messy disaster often comes down to having the right plunger. A flange plunger has that extra rubber piece that creates a proper seal in the toilet bowl. Using a regular cup plunger is like trying to change a tire with a butter knife—technically possible, but why make it harder?
💡 Natural Solutions vs Store-Bought Chemicals
I’ve tried both approaches, and here’s my honest take: natural solutions work better and won’t accidentally burn your skin or damage your plumbing. Warm water mixed with a squeeze of dish soap creates the perfect lubricant for most clogs. For tougher situations, baking soda and vinegar create a fizzing action that helps break down organic matter.
Store-bought drain chemicals for toilets? Skip them entirely. They’re designed for sinks and can actually crack porcelain over time. Plus, if they don’t work, you’re stuck with caustic water that makes any follow-up DIY household fixes dangerous.
Step-by-Step Unblocking Process
🔧 Beginner Method (Works 80% of the time):
Start by checking the water level in the bowl. If it’s too low, add warm water until it’s about halfway full. Position your flange plunger directly over the drain hole and press down firmly to create a good seal. Push steadily rather than frantically—this isn’t about speed.
Work in sets of 10 steady plunges, then check your progress. If the water level drops, you’re winning. Give it a test flush, but keep your hand ready to shut off the water if things go sideways.
🎯 Intermediate Techniques for Stubborn Clogs:
When the plunger isn’t cutting it, it’s time for the toilet auger (also called a closet auger). Insert the curved end into the drain and crank the handle clockwise while applying gentle pressure. You’ll feel resistance when you hit the clog, then a sudden give when it breaks free.
Advanced tip: sometimes the issue isn’t in the toilet itself but with the tank mechanism. Lift the tank lid and check if the flapper is sealing properly or if the chain is too tight or loose.
📌 Prevention Tips That Actually Work
Teach your kids the golden rule: only toilet paper goes down the toilet. No “flushable” wipes (they’re not actually flushable), no feminine hygiene products, no goldfish funerals, and definitely no science experiments.
Keep a small waste basket next to every toilet for anything that isn’t toilet paper. And maybe have a conversation with your teenagers about reasonable toilet paper usage—half a roll per visit is excessive.
For more detailed home safety tips, including childproofing strategies that work with multiple kids, I’ve covered everything from basic safety to advanced preparation techniques.
When to Call the Professionals
If water is backing up into other fixtures, you’ve got a main line problem that’s beyond simple DIY household fixes. If you’ve tried everything and the toilet keeps overflowing, or if you suspect something valuable went down (like jewelry or toys), it’s time to call in the experts.
🛠️ How to Unblock a Sink: Kitchen and Bathroom Solutions
Sink clogs are sneaky. They start slow—just a little standing water after brushing teeth—then suddenly you’re staring at a completely blocked drain wondering how it happened so fast. The good news? Most sink clogs are easier DIY household fixes than toilet blockages.
Tools for Success
✅ Thick rubber gloves
✅ Sink plunger (smaller than toilet plungers)
✅ Drain snake or zip-it tool
✅ Bucket and adjustable wrench
✅ Plenty of towels
✅ Baking soda and white vinegar
✅ Wet/dry shop vacuum (if available)
The key difference between sink and toilet DIY household fixes is that sinks give you more access points to attack the problem. You can work from above with plungers and snakes, or get underneath to remove the P-trap entirely.
🧪 Natural vs Chemical Drain Cleaners
Here’s where I get passionate: avoid store-bought drain chemicals whenever possible. They’re incredibly caustic, can corrode your pipes over time, and create dangerous situations if you mix different products or need to use other tools afterward.
My go-to natural combination is simple: hot water mixed with dish soap for grease clogs, or the classic baking soda and vinegar reaction for organic buildup. These DIY household fixes are safer for your family, your pipes, and your wallet.
According to the EPA, many commercial drain cleaners contain volatile organic compounds that can negatively impact indoor air quality, especially important in homes with children.
Kitchen Sink Rescue Mission
🥄 The Basic Attack Plan:
Start by removing any standing water with a cup or bucket. Pour a pot of boiling water down the drain—this alone solves about 30% of kitchen sink clogs caused by grease buildup.
If hot water doesn’t work, add a generous squirt of dish soap and let it sit for 10 minutes before trying again. For stubborn clogs, cover the overflow hole (if there is one) with a damp cloth, then use a sink plunger with firm, steady strokes.
🔍 Advanced Kitchen Sink Techniques:
When basic methods fail, it’s time to get mechanical. A drain snake or zip-it tool can pull out hair, food particles, and other debris that’s creating the blockage. Work slowly and be prepared for some gross discoveries.

For the truly adventurous, you can remove the P-trap under the sink. Turn off the water, place a bucket underneath, and use an adjustable wrench to loosen the slip nuts. This gives you direct access to clean out the trap and check for clogs in the drain pipe itself.
Bathroom Sink Specific Solutions
Bathroom sinks have their own unique challenges, mainly hair and soap scum buildup. The drain snake is your best friend here—those zip-it tools with tiny hooks can pull out impressive amounts of hair that you never realized was down there.
For soap scum and toothpaste buildup, the baking soda and vinegar combination works wonderfully. Pour half a cup of baking soda down the drain, follow with a cup of vinegar, and cover the drain with a cloth for 15 minutes before flushing with hot water.
💪 Prevention Strategies That Save Your Sanity
Install drain strainers in every sink—they’re cheap and catch most debris before it becomes a problem. In the kitchen, never pour grease down the drain (let it solidify and throw it away), and avoid sending rice, coffee grounds, or pasta down the disposal.
In bathrooms, brush your hair before showering and clean the strainer weekly. It takes 30 seconds and prevents 90% of bathroom sink clogs. These simple natural cleaning methods have revolutionized how we maintain our household with minimal chemical exposure.
When Professional Help Is Needed
If multiple drains in your house are backing up simultaneously, you likely have a main sewer line issue that requires professional equipment. Similarly, if you see water damage around the pipes or notice corrosion, it’s time to call a plumber before the problem gets expensive.
🌡️ How to Bleed a Radiator: Heating System Maintenance Made Simple
Living in areas with older heating systems means learning radiator bleeding techniques. It sounds technical and intimidating, but it’s actually one of the easier DIY household fixes once you understand the process.
What You’ll Need
✅ Radiator key or flat-head screwdriver
✅ Towels and a shallow bowl
✅ Work gloves (hot water protection)
Most radiators use a standard radiator key, but some newer ones have slotted valves that work with a screwdriver. Check your specific radiator before starting.
Safety First: Temperature and Pressure
Never attempt to bleed a radiator while the heating system is running. Turn off your heating and wait at least 30 minutes for everything to cool down. Hot water under pressure can cause serious burns, and you won’t get accurate results if the system is actively circulating.
The Bleeding Process Step-by-Step
🎯 Basic Technique:
Locate the bleed valve—it’s usually at the top corner of the radiator and looks like a small square or slotted fitting. Place your bowl underneath and have towels ready for any spills.
Insert the radiator key and turn it slowly counterclockwise (lefty loosey). You’ll hear air hissing out—this is exactly what you want. Keep the valve open until the hissing stops and water starts to drip out steadily.
Close the valve by turning clockwise, but don’t overtighten. Snug is sufficient; cranking it down can damage the valve seat.
🔧 Advanced Tips for Better Results
If you have multiple radiators, start with the ones furthest from your boiler and work your way back. This ensures you’re removing air from the entire system efficiently.
After bleeding all radiators, check your boiler pressure gauge. You may need to add water to the system if the pressure has dropped below the recommended range (usually between 1-2 bars).
The U.S. Department of Energy recommends annual radiator maintenance as part of an efficient home heating strategy, potentially reducing energy costs by up to 10%.
Maintenance Schedule
Bleed your radiators at least once per year, preferably before the heating season starts. If you notice cold spots on radiators or hear gurgling sounds during operation, it’s time for an unscheduled bleeding session.
Professional Territory
If you’re constantly having to bleed the same radiator, there might be a leak in the system allowing air to enter repeatedly. Similarly, if bleeding doesn’t improve heating performance, you could have circulation pump issues or more serious system problems that require professional attention beyond basic DIY household fixes.
🧽 Appliance Cleaning Made Simple: Kitchen Warriors
Nothing says “responsible adult” quite like having clean appliances that actually work properly. But with six kids and busy schedules, deep cleaning often gets pushed to “someday when I have time.” Here are the efficient DIY household fixes that fit into real family life.
Washing Machine Maintenance
🔄 Monthly Deep Clean Process:
Start with an empty machine and run a hot water cycle with two cups of white vinegar added directly to the drum. This removes soap residue, mineral buildup, and any funky odors that develop over time.
Follow up with a second hot cycle using a cup of baking soda. This neutralizes any remaining odors and helps remove stubborn residue from fabric softeners and detergents.
Don’t forget the rubber seals around the door—these collect moisture and can harbor mold. Wipe them down with a vinegar solution and leave the door cracked open after use to allow air circulation.
For families concerned about chemical exposure, our comprehensive guide to safe cleaning products provides detailed alternatives that protect both your family’s health and your appliances’ longevity.
🧹 Prevention and Quick Maintenance:
Use the correct amount of detergent—more isn’t better and actually creates more residue. Clean the lint filter regularly, and occasionally run an empty hot cycle if you notice any musty smells developing.
Dishwasher Deep Clean
💧 The Complete Cleaning Process:
Remove the bottom dish rack and locate the filter at the bottom of the dishwasher. Unscrew it and rinse under hot water while scrubbing with an old toothbrush. This filter catches food particles and can get surprisingly disgusting.
Run an empty cycle with a cup of white vinegar placed in a dishwasher-safe bowl on the top rack. Follow with a sprinkle of baking soda on the bottom and another hot cycle.
Check the spray arms for clogs—food particles can block the holes and reduce cleaning effectiveness. Most arms pop off easily for cleaning with a toothpick or small wire.
Microwave Miracle Method
⚡ The Two-Minute Steam Clean:
Fill a microwave-safe bowl with water and add several lemon slices. Microwave for 2-3 minutes until it steams heavily. Don’t open the door immediately—let the steam work for another minute.
The steam loosens stuck-on food, and the lemon provides natural deodorizing. Wipe everything down with a clean cloth, and you’re done.
Refrigerator Refresh
❄️ Inside and Out Maintenance:
Remove everything and wipe shelves with warm soapy water. Place an open box of baking soda in the back to absorb odors—replace it every three months.
Don’t forget the door gaskets—they collect spills and crumbs that can affect the seal. Clean them with a damp cloth and check for any tears or damage.
The coils on the back or underneath need vacuuming twice a year. Dusty coils make your refrigerator work harder and can shorten its lifespan significantly.
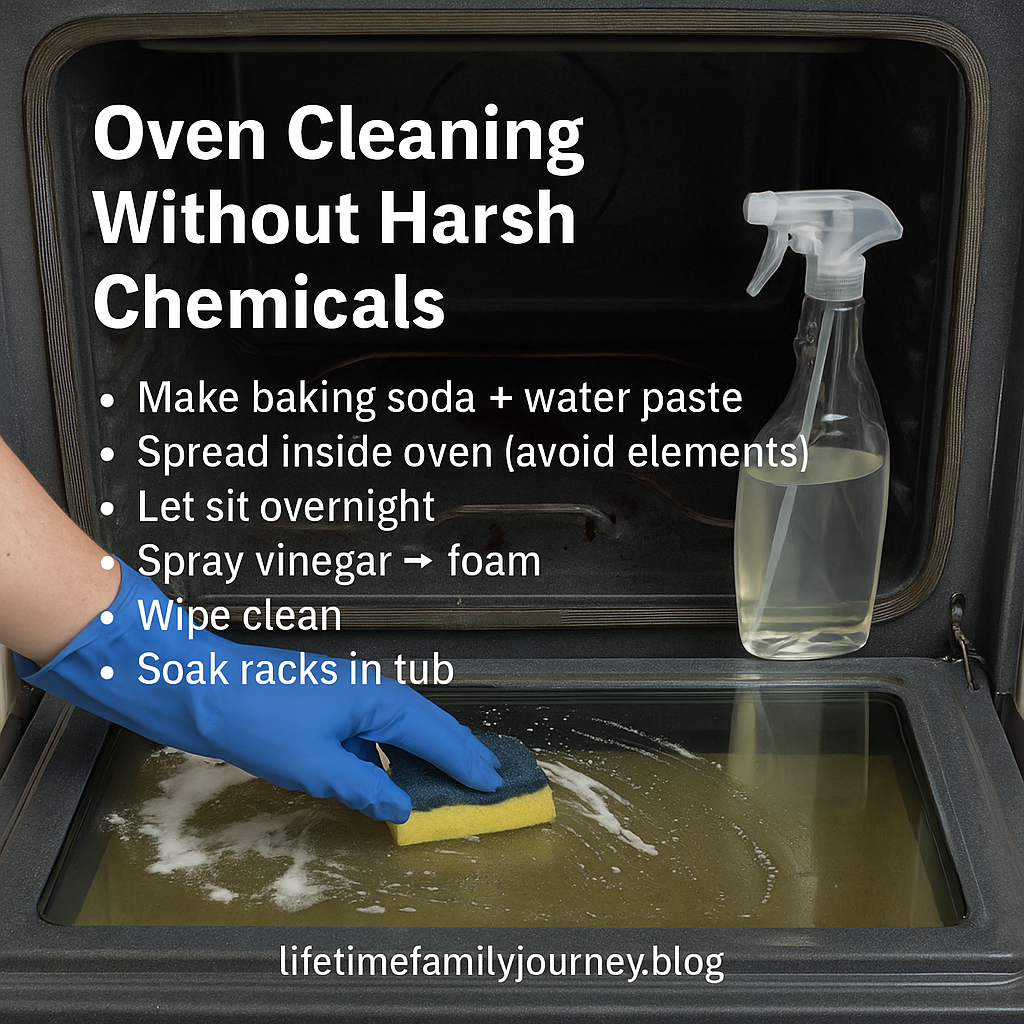
Oven Cleaning Without Harsh Chemicals
🔥 The Overnight Paste Method:
Make a paste with baking soda and water, spread it throughout the oven interior (avoiding heating elements), and let it sit overnight. The next day, spray with vinegar and watch it foam up, then wipe clean with damp cloths.
For the oven racks, remove them and soak in your bathtub with hot water and dish soap. An old towel in the bottom prevents scratching.
🔧 Recognizing When to Call Professionals
Learning your limits is just as important as learning basic DIY household fixes. I’ve saved thousands over the years doing simple fixes myself, but I’ve also learned when attempting repairs could create bigger, more expensive problems.
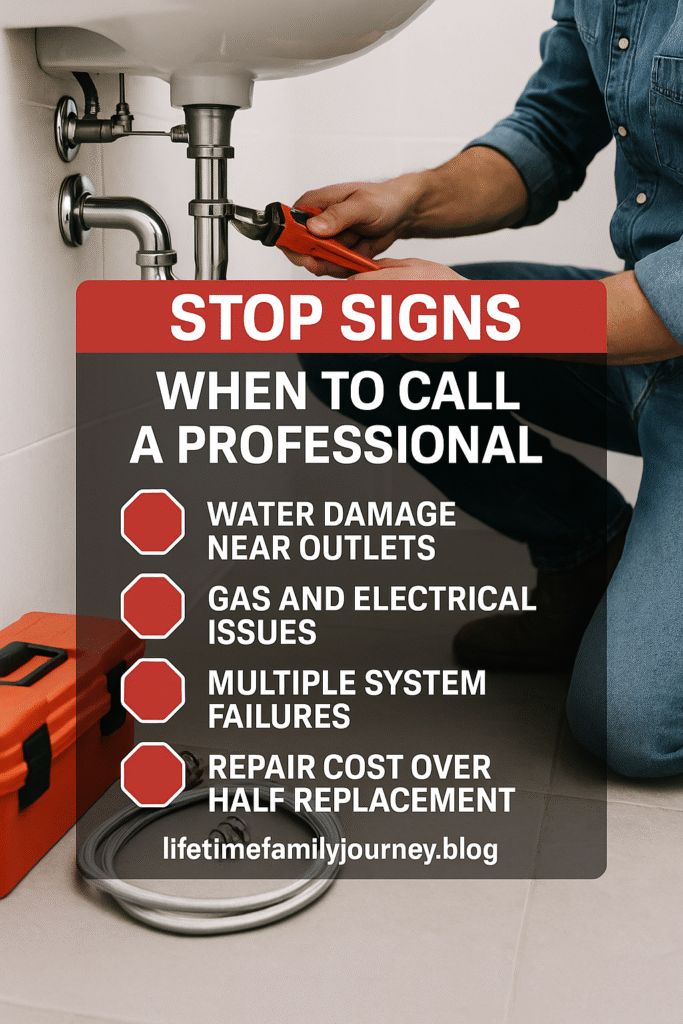
Water Damage Risk Scenarios
Any time you’re dealing with water near electrical outlets, flooring, or structural elements, proceed with extreme caution. A small leak that you can’t immediately stop can cause hundreds or thousands of dollars in damage within hours.
If you discover water damage that’s already occurred—soft spots in flooring, discolored drywall, or musty odors—call professionals immediately. Mold remediation gets exponentially more expensive the longer you wait.
Gas and Electrical Red Flags
I don’t mess with gas lines or major electrical work, period. The potential consequences are too serious, and most areas require licensed professionals for safety and insurance reasons.
If you smell gas, hear electrical buzzing, or see scorch marks around outlets, stop what you’re doing and call the appropriate utility company or electrician.
🚨 When Multiple Systems Fail
If you’re experiencing multiple plumbing problems simultaneously—toilets backing up, sinks draining slowly, strange sounds from pipes—you likely have a main sewer line issue. These require specialized equipment and expertise that’s beyond typical DIY household fixes.
Similarly, if your heating system isn’t responding to bleeding radiators or basic maintenance, there could be circulation pump problems or boiler issues that need professional diagnosis.
The Economics of Repair vs Replace
Sometimes the most cost-effective solution is replacement rather than repair. If an appliance is over 10 years old and requires expensive parts or multiple repair attempts, replacement might be smarter financially.
I keep a simple rule: if the repair cost is more than half the replacement cost, and the item is past its expected lifespan, it’s time to upgrade.
🎯 Building Your Home Maintenance Confidence
The secret to successful household maintenance isn’t having a garage full of expensive tools—it’s developing the confidence to tackle DIY household fixes systematically and knowing when you’re in over your head.
Start Small and Build Skills
Begin with the simplest DIY household fixes and cleaning tasks. Success builds confidence, and confidence makes you more willing to try slightly more complex projects. I started by learning how to change air filters and toilet flappers. Twenty years later, I’ve renovated bathrooms and built decks.
Each small victory teaches you something about how your house works. You start recognizing patterns, understanding systems, and developing intuition about what’s normal versus what needs attention.
📚 Creating Your Home Knowledge Base
Keep a simple maintenance log—nothing fancy, just a notebook where you record what you’ve done and when. Note which techniques worked, what tools you needed, and any quirks specific to your house.
Take photos of complicated areas before you disassemble anything. Your phone’s camera is the best tool for remembering how things went together.
Speaking of organization and systems, implementing time saving tips can help you schedule regular maintenance without overwhelming your already busy family schedule.
Teaching Kids Age-Appropriate Skills
Even young children can help with basic maintenance. My 6-year-old son loves being my “tool assistant” and has learned to identify different wrenches and screwdrivers. The older kids have mastered toilet plunging, sink strainer cleaning, and basic appliance maintenance as part of learning essential DIY household fixes.
These aren’t just chores—they’re life skills that build confidence and save them money as young adults. My college daughters regularly text me with maintenance questions, but they handle most issues themselves now.
🏠 Safety Culture in Your Home
Make safety gear easily accessible and model its use consistently. My kids know that gloves, safety glasses, and proper ventilation aren’t optional—they’re standard procedure for any maintenance task.
Create clear boundaries about what kids can and cannot attempt when learning DIY household fixes. Plunging toilets? Fine. Anything involving electrical or gas? Absolutely not.
Building Your Maintenance Routine
Successful home maintenance isn’t about emergency DIY household fixes—it’s about preventing emergencies through regular attention to your systems.
Monthly Quick Checks
Walk through your house with intentional eyes once a month. Test faucets, flush toilets, run appliances through cycles, and listen for unusual sounds. Five minutes of attention can catch problems before they become crises.
Check under sinks for leaks, examine caulking around tubs and showers, and make sure exhaust fans are working properly. These quick visual inspections have caught numerous problems in our house before they became expensive repairs.
Learning to maintain your home systematically connects to broader family routines that work – when everyone knows their role in household upkeep, maintenance becomes a team effort rather than a solo burden.
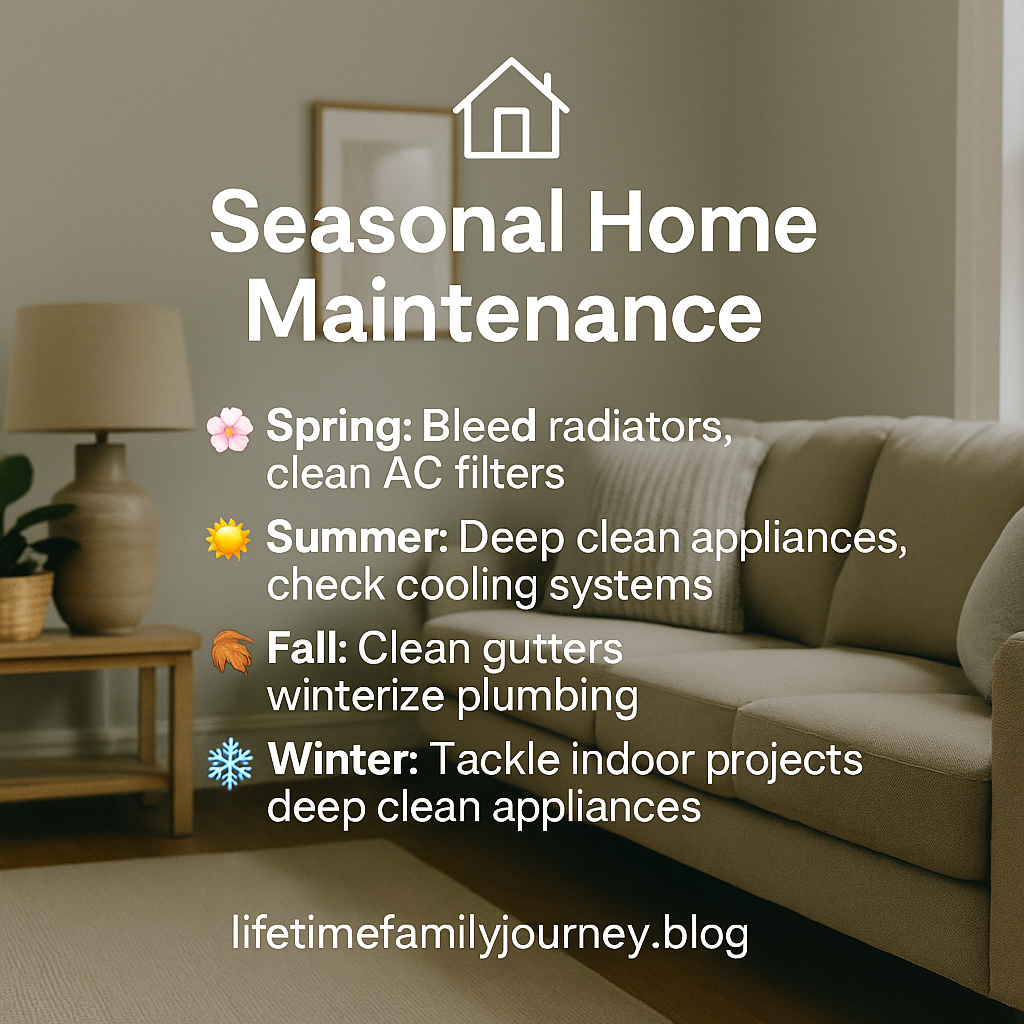
Seasonal Maintenance Rhythm
Spring is perfect for bleeding radiators, cleaning air conditioning filters, and checking outdoor faucets after winter. Summer focuses on appliance deep cleaning and checking cooling systems.
Fall preparation includes cleaning gutters, winterizing outdoor plumbing, and testing heating systems before you need them. Winter is ideal for indoor projects and deep cleaning appliances that work harder during holiday cooking seasons.
🏆 The Confidence Factor
Here’s what nobody tells you about home maintenance: confidence matters more than skill level when tackling DIY household fixes. When you approach problems calmly and systematically, you’re more likely to notice important details and avoid making impulsive decisions that create bigger problems.
I’ve watched neighbors panic over simple issues and call expensive emergency services for problems they could have handled with 20 minutes and basic DIY household fixes. The difference wasn’t technical knowledge—it was confidence and willingness to try.
The most important skill you can develop is the ability to research DIY household fixes thoroughly before starting. YouTube University is real, and there are excellent tutorials for virtually every home maintenance task.
Advanced Troubleshooting Techniques
Once you’ve mastered the basics, you can tackle more complex DIY household fixes that require systematic problem-solving rather than just following instructions.
🔍 Diagnostic Thinking
When facing an unfamiliar problem, start by gathering information before jumping to solutions. What symptoms are you seeing? When did they start? Has anything changed recently in your household routine or the system’s usage?
For example, if multiple sinks are draining slowly, that suggests a different problem than one isolated clog. If your toilet runs constantly, there are five different potential causes, each requiring different solutions.
Understanding Your Home’s Systems
Every house has personality quirks that you learn over time. Maybe your downstairs toilet needs an extra-firm plunge to work effectively, or perhaps your kitchen sink drains better when you run hot water first.
Document these quirks so you don’t forget them, and share the knowledge with older kids who can help with maintenance. This institutional knowledge makes your household more resilient and self-sufficient.
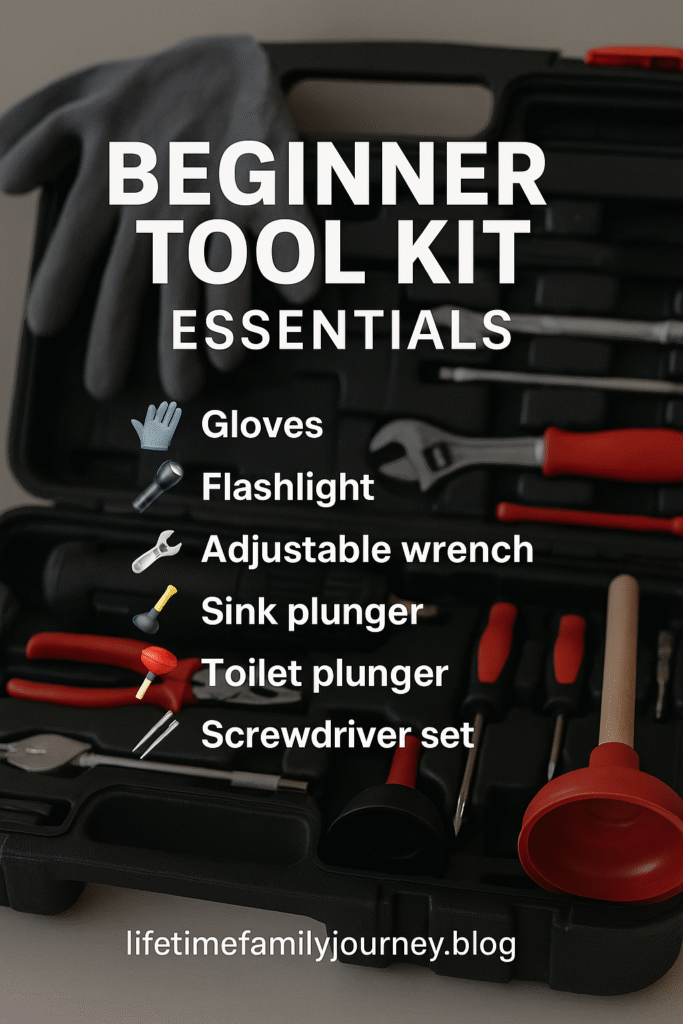
💡 Tool Investment Strategy
You don’t need professional-grade tools for basic maintenance, but investing in quality basics saves frustration and repeat purchases when tackling DIY household fixes. A good plunger, basic wrench set, and reliable flashlight handle 90% of common household issues.
Buy tools as you need them rather than trying to stock a complete workshop immediately. Each project teaches you what works and what you actually use.
For families looking to create dedicated spaces for tools and maintenance supplies, our guide to DIY kids room ideas includes storage solutions that work for both children’s belongings and household maintenance equipment.
I’ve found that mid-range tools from reputable hardware stores offer the best balance of quality and cost for DIY household fixes. Professional tools are overkill for occasional use, but cheap tools often fail when you need them most.
Thank you for joining me on this journey through essential DIY household fixes. Remember, every expert was once a beginner who wasn’t afraid to try.
These DIY household fixes aren’t just about saving money—they’re about building confidence, teaching your kids valuable life lessons, and creating a sense of competence that extends far beyond home maintenance.
Explore More from Our Family of Blogs
Mountains Will Move
Faith-based encouragement for everyday families.
Everyday Exposed
No-filter truth hub for critical thinking and clarity.
Thank you for being part of the community. God Bless you and your family.